Disclosure: Some links in this post are affiliate links. As an Amazon Associate I earn from qualifying purchases, at no extra cost to you. Learn more
Specs are compiled from manufacturer listings and verified buyer reviews and can change over time — please confirm the key details on the product page before buying.
Most pin maker machines fail at the exact same moment: the first press. If the die and the plate do not line up, the plastic film wrinkles, the pin back misses its seat, and you throw another metal blank in the bin. The pick that avoids this is the Button Maker Machine 2.25 Inch Pin Maker Kit — it takes the most punishment from beginners and still cranks out a clean 2.25-inch badge. Below, three single-size presses and four multi-size kits are sorted by what they actually do well, so you can pick the one that matches your project, not the loudest listing.
This guide is built by comparing the manufacturers’ published specifications and the patterns across verified customer reviews, so you get each pick’s real strengths and trade-offs instead of marketing spin.
Single-size presses stay simple and cheap to run, but the 3-in-1 machines let you switch molds without buying a second body. Anyone weighing a 32mm badge against a full pin maker machine should start with the mold size and work backward.
Top Picks

How To Choose The Best Pin Maker Machine
A pin maker machine is a hand-powered press: you load a metal shell, a paper circle, and a clear plastic film into a die, then pull the lever twice to crimp the layers together. Everything that goes wrong — wrinkled faces, pins that slide off bags, backs that pop open — traces back to one of three things: mold size, alignment, or the film. Get those right and the machine becomes boring, which is exactly what you want.
Mold size drives everything else
The number on the box — 25mm, 32mm, 58mm — is the finished diameter of the badge face, not the machine. A 32mm press makes small pins sized for a jacket lapel or a backpack strap. A 58mm (2.25-inch) press makes buttons large enough to hold a photo or a logo you can actually read from a few feet away. The catch is that molds are not universal: parts cut for one brand’s 58mm die often will not seat in another brand’s 58mm die, even though the number matches. Buy your refill blanks from the same maker as the press, or buy a kit that bundles a large supply up front.
Alignment beats brute force
Cheap presses ask you to press hard and hope. Better ones add alignment scales or a positioning pin that forces the plate and die into the same spot every single time. That mechanical nudge is why some machines finish 50 buttons with no rejects while others ruin one in five. When you read a listing, look for words like “alignment scales,” “positioning design,” or “two-step press” — those are the features that keep your metal blanks out of the trash.
Count the accessories before you buy
Button blanks, mylar film, and a circle cutter are consumables. Mylar is the transparent plastic disc that seals the printed paper under the metal rim — without it the paper face frays and peels within days. A kit with 100 button sets and a cutter gets you through your first project; a kit with 300 sets across three sizes keeps a small business running for weeks. Check whether the cutter is adjustable or fixed, because a cutter that overshoots the die size means hand-trimming every single paper circle.
Side-by-Side Comparison
| Model | Best For | Mold Size(s) | Button Parts Included | Machine Weight | Amazon |
|---|---|---|---|---|---|
| Button Maker Machine 2.25 Inch Pin Maker Kit★ Best Overall | Beginners who want one size done right | 2.25 in | 100 button sets | 1.5 kg | Amazon |
| DCBADGE Button Maker Machine (3rd Gen)Best for Gifting | Gifting to kids and family craft nights | 2.25 in | 100 sets of badge materials | — | Amazon |
| Aiment 32mm Button Maker Kit | Small 32mm pins for clothes and hats | 32mm | 100 sets of 32mm supplies | — | Amazon |
| MK.Bear Button Maker Machine | Two-size flexibility on a tight budget | 32mm + 58mm | 200 sets (100 each size) | — | Amazon |
| We R Memory Keepers Button Press Kit | Fabric and cardstock button makers | — | — | 2.6 oz | Amazon |
| VEVOR 3-in-1 Button Maker Machine | High-volume crafting with refill supplies | 25 / 32 / 58mm | 300 pcs button parts | 9.5 pounds | Amazon |
| F7F9 3 in 1 Button Maker Machine | Event favor production in three sizes | 1 / 1.25 / 2.25 in | 300 pcs button parts | 4.7 kg | Amazon |
Detailed Reviews
1. Button Maker Machine 2.25 Inch Pin Maker Kit
Our pick — 4.0+★ from 1,000+ verified ratings; the strongest balance of quality and price.
The 1.5 kg press that forgives a sloppy first attempt and still crimps clean.
This is the kit for the person who has never touched a badge press and does not want to learn on expensive mistakes. It runs one 2.25-inch mold — the size that fits a photo, a logo, or a name you can read across a table — and ships with 100 button sets, 5 fridge magnets, 5 bottle openers, 100 circular papers, a circle cutter, and 500+ downloadable designs. The press itself is hand-powered, so there is no cord, no outlet, and nothing to plug in before a craft night. Owners call the lever action light and the results professional-looking, and the press carries a 1-year warranty.
Where this press earns its place at the top is the overlap between size and value. A complete single-mold kit at 2.25 inches beats most starter presses because you are not shopping for blanks two weeks later — the box already holds a hundred. Just as useful, the price of the whole kit buys you around the same as a single mid-tier refill bag from some brands. The downside worth naming is alignment: this press rewards a consistent, centered load. If you rush the paper circle or let the mylar film slide, you will get a crooked face, and that is on you, not the machine. Build quality is metal and plastic in a compact 9.25″D x 3.15″W x 14.4″H body that sits on a kitchen counter without demanding a dedicated workbench.
Owners running this press daily report 50+ buttons with zero mis-crimps once they learn the load rhythm. The results are thick, evenly seated, and the pin backs sit flat against the shell. As a bonus, this kit’s mylar discs are cut generously enough that you rarely get the wrinkled, sticky film that plagues cheaper multi-packs. It is the least fussy entry point in this list, and it does not assume you know what you are doing.
What earns it the top slot
- Hand-powered, so no outlet or cord is ever needed
- 100 button sets plus a cutter and 500+ designs included
- Light lever press that stays consistent across long sessions
- Compact 1.5 kg body that stores on a shelf
Where it asks for patience
- Single mold only — no 32mm or 25mm option
- Wrinkled faces happen if the paper and film are not centered
- The pin backs are the weak link in the supply chain, not the press itself
Reach for this if: you want one size, a full box of supplies, and a press light enough to run for hours.
Think twice if: your projects need three different badge diameters in the same sitting.
2. DCBADGE Button Maker Machine 3rd Gen
Arrives already assembled — you are pressing buttons about a minute after unboxing.
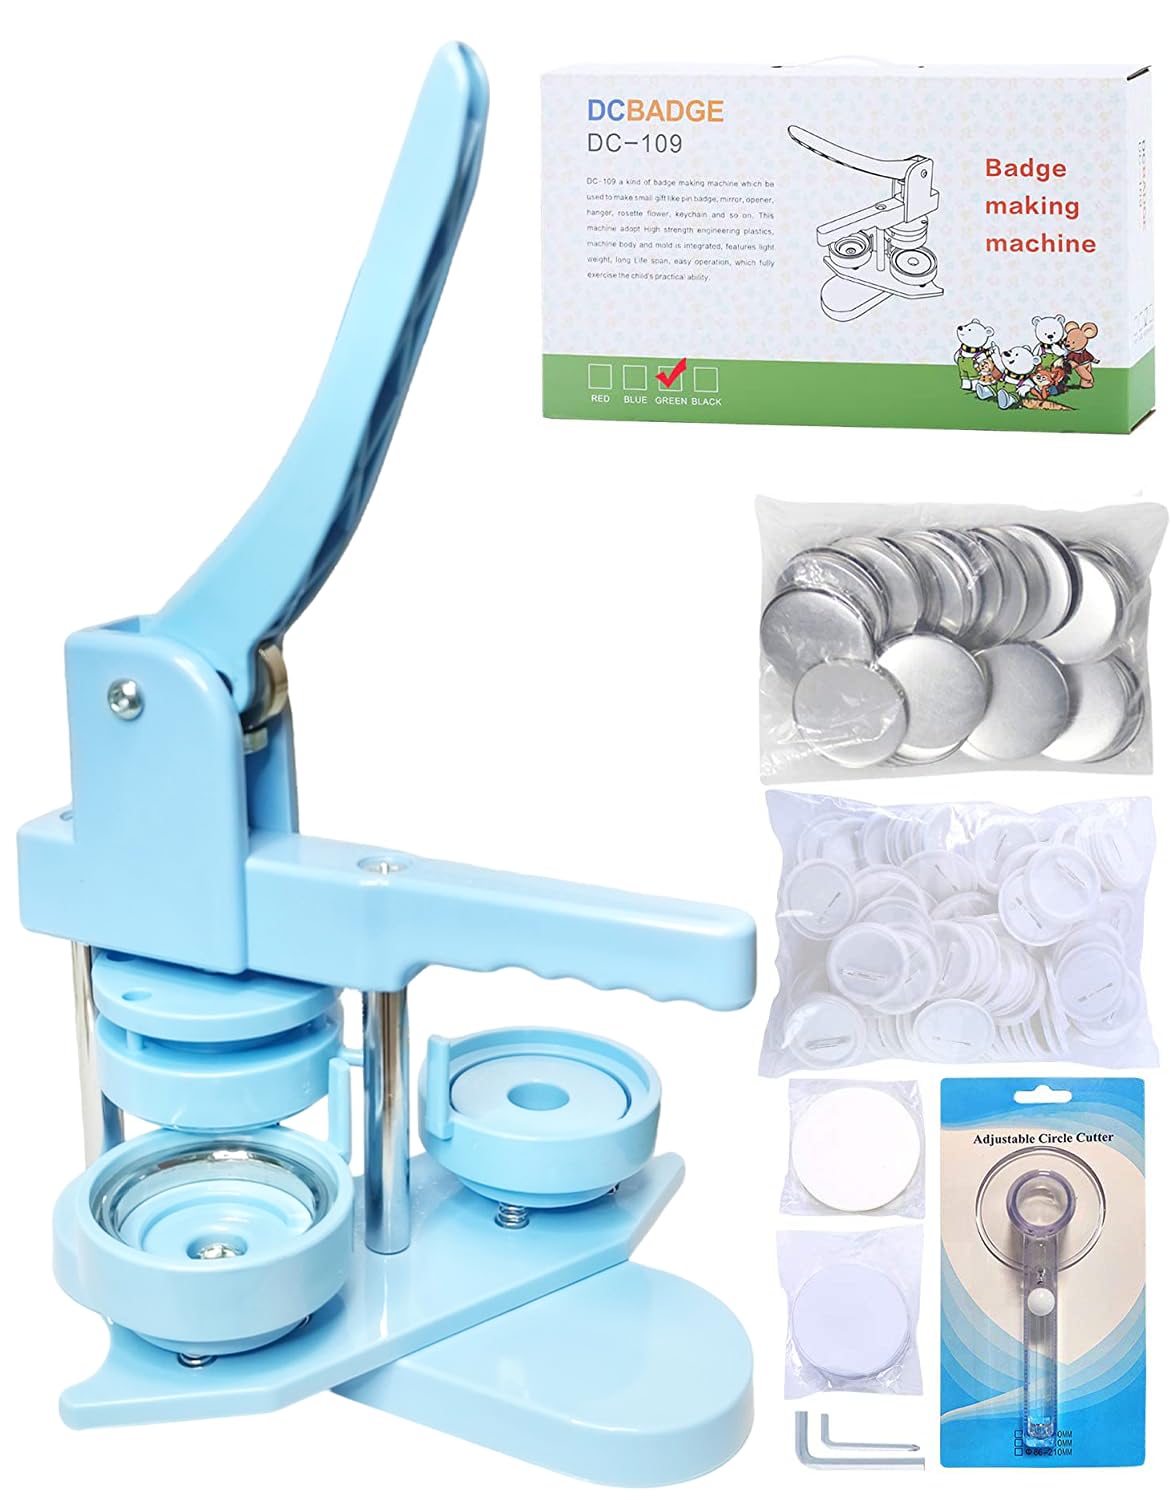
The DCBADGE 3rd Gen exists for one reason: nobody wants to bolt a press together before crafting. The body and button mold come as a single integrated piece, so there is no assembly step and no wrench work before your first badge. It is molded from eco-friendly ABS with rounded edges, and it carries a built-in metal pressure lever that handles the crimping force. The kit lands with 100 sets of badge materials, plastic films, a circle cutter, and a wrench gadget — all in a 2.25-inch (58mm) mold size.
What it does well is lower the skill floor. Kids and grandparents both manage the lever, and the machine is light enough for a child to carry to a table. The ABS plastic, though, is where the long-term conversation lives. Owner experiences diverge sharply: some units press 50+ buttons with zero mistakes, while others stop crimping after about ten. That spread is typical for any plastic-bodied press in this price class, and it is worth understanding as a “who this fits” question rather than a design flaw. Owners who treat it as a light-to-medium-duty hobby machine, rather than a commercial badge factory, report the most satisfaction. If you plan to press hundreds of buttons a week, a metal-bodied press is the safer bet — but for gifts, family craft afternoons, and school projects, the DCBADGE is dependable and pleasant to use.
One practical note buyers flag: refills are not infinite, and this kit locks you into 2.25-inch parts. If you want other sizes later, you will need a second press. If 2.25 inches is your size, the included cutter and 100-set starter pack keep you busy right from the start.
Fit for the recipient: the assembled, rounded-edge body suits a child or a family making badges together on a rainy afternoon.
The honest caveat: the ABS shell prefers hobby pace over production pace — treat it kindly and it lasts; push it hard and a small number of units will stop crimping early.
Best for: a gift buyer who values setup-free crafting and a light, kid-safe body.
Look elsewhere if: you need a press rated for heavy repeated use.
3. Aiment 32mm Button Maker Kit
A 32mm specialist that makes the small lapel-sized pins the big presses skip.
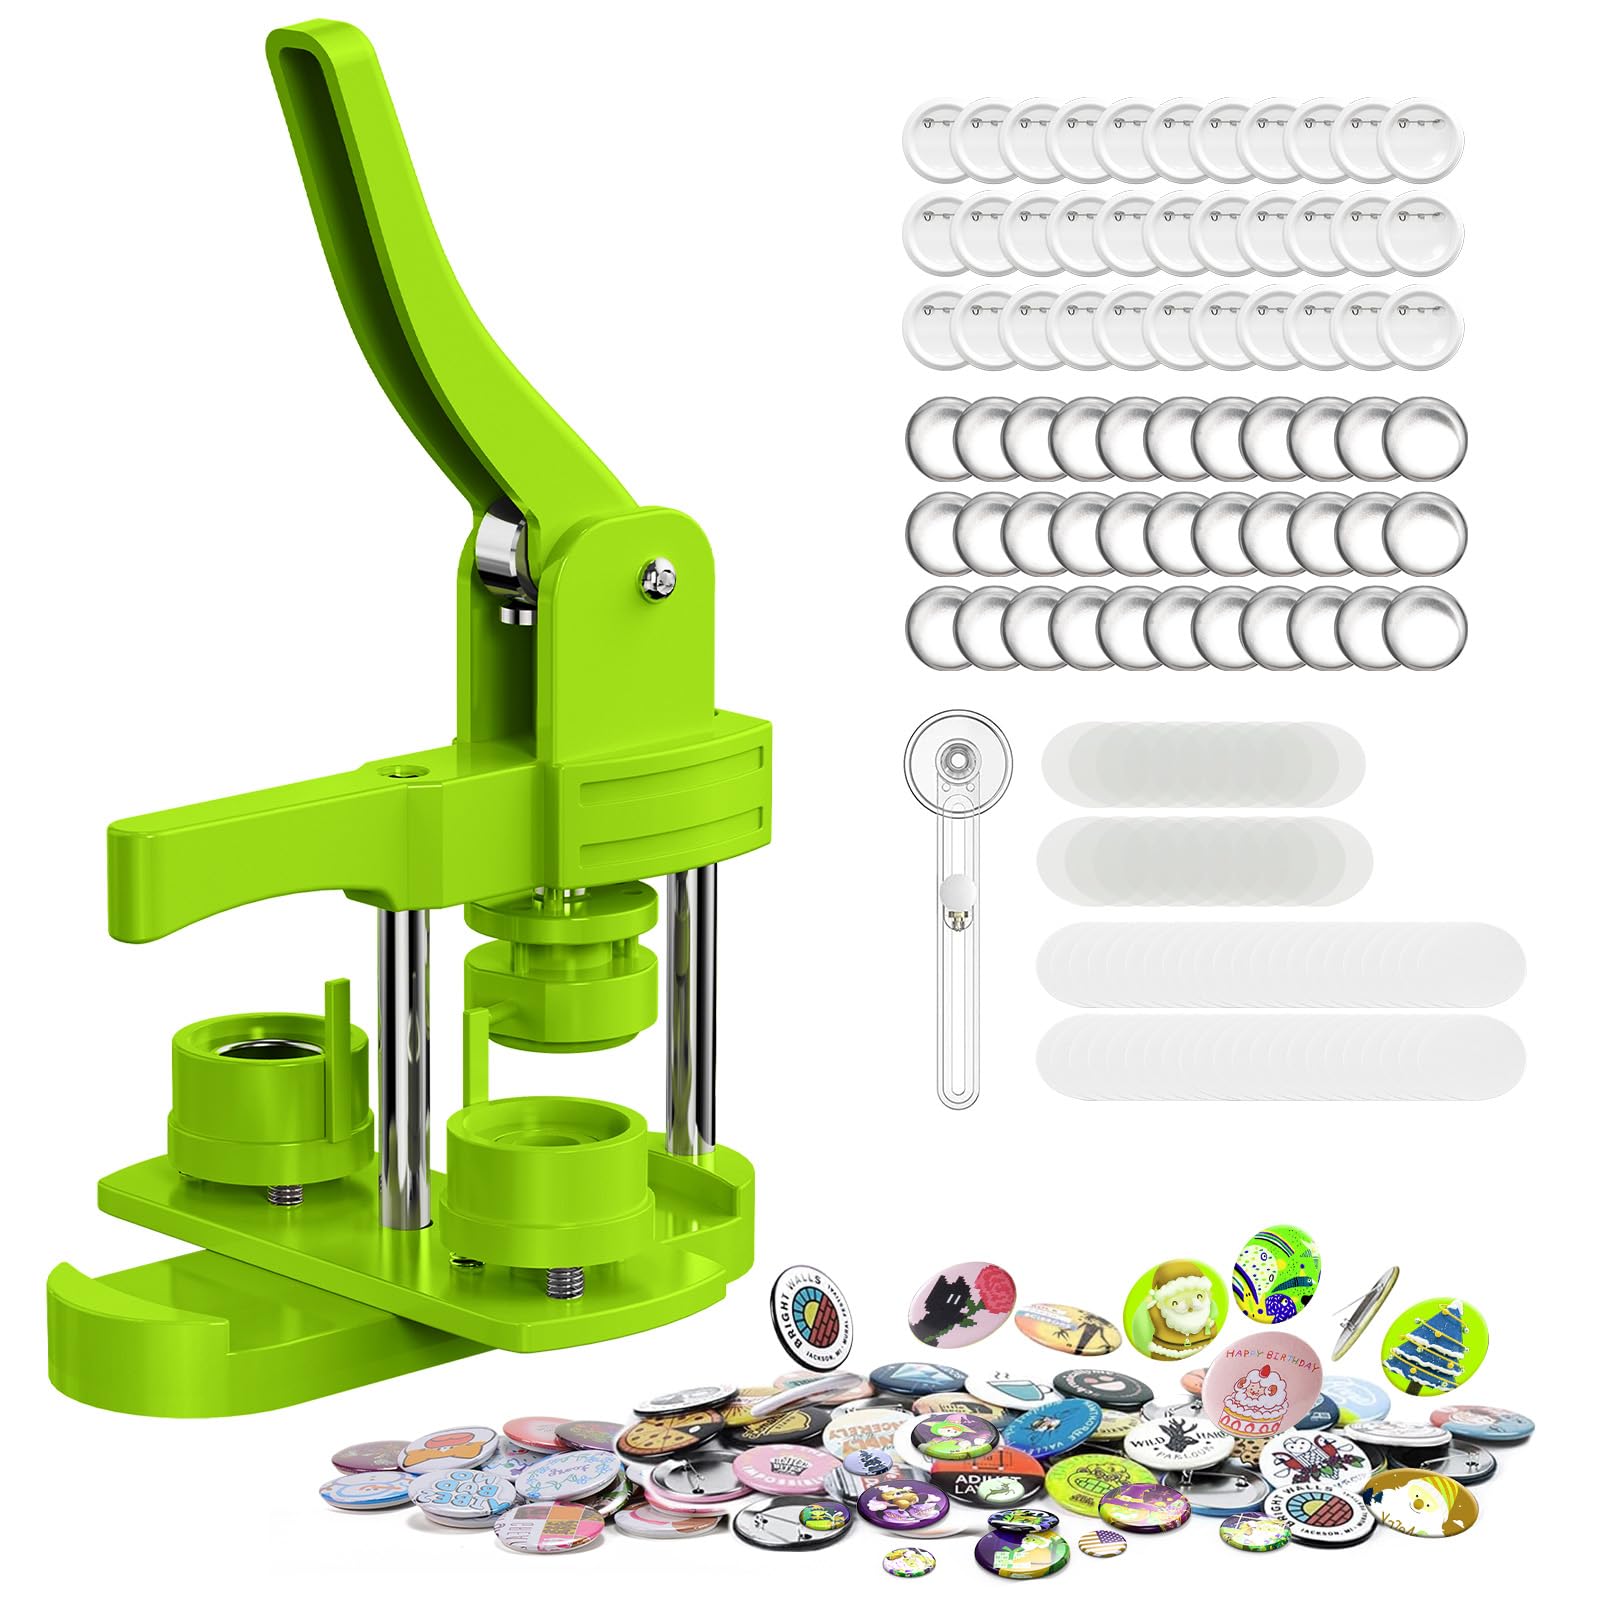
If your project is jacket lapel pins, hat pins, or backpack buttons — not photo-sized badges — 32mm is the right diameter, and this is the kit built for it. The Aiment press runs one 32mm mold and arrives as a gift-boxed set: 1× 32mm button maker machine, 1× circle cutter, 1× cutting mat, 100 pcs of 32mm button supplies, and 100 pcs of plastic film. The cutting mat is the detail most kits in this price range leave out, and it saves your countertop while you trim circles. Setup takes about two minutes, and consistent crimping is what the machine is built around.
Owners describe the output as clean, small, and even, with the 100-piece supply count fine for a first project or a party favor run. The one thing to know before you commit: 32mm parts and molds are less common than 58mm ones, so replacement blanks are easier to source for 2.25-inch presses than for this size. Buy your refill packs from Aiment early if you plan to keep crafting. And the crimp feels stiff for the first few buttons until the die seats itself — a normal break-in pattern, not an issue to worry about.
Note that this machine is deliberately single-size. Buyers who want flexibility usually graduate to a 3-in-1 kit; buyers who make one thing exceptionally well keep this press and stop shopping. The gift box packaging makes it an easy choice for a birthday or craft-club present, since the recipient gets a complete, self-contained kit with nothing else to source on day one.
What you get for the money: a complete 32mm kit with a cutter and a cutting mat — accessories that similar-priced 58mm kits often omit.
Worth planning around: refills in 32mm are less stocked than 58mm, so buy blanks ahead of need rather than mid-project.
Pick it when: your design intent is a small, wearable lapel- or hat-sized button.
Pass on it if: you want one press that also handles photo-size 58mm badges.
4. Button Maker Machine Multiple Sizes 1.25in+2.25in

Two molds, two cutters, 200 blank sets — and a “swap the die” design that beats buying twice.
This is the press for crafters who do not yet know whether they love 32mm lapel pins or 58mm photo badges, so they buy both in one body. The MK.Bear uses a detachable design: you swap the button-model on the top of the press to switch between 32mm and 58mm, and the kit includes two sizes plus 100 sets of 32mm parts and 100 sets of 58mm parts — 200 blank sets total. Two circle cutters come with the rig, one for each size, so you are not swapping blades between paper sizes. The body is high-strength engineering plastic with an anti-rust claim, which matters if you live somewhere humid.
The trade-off people notice is the two-step press sequence: the support pin must land against the round plate on the first press, and pass through the holes on the second press, with the handle fully bottomed out. Get that wrong and the parts do not seat. It takes about ten minutes of practice to feel natural. Once you have it, the machine really does produce hundreds of clean buttons quickly, and the handle needs notably less force than older press designs. Buyers make several buttons within their first hour after a couple of imperfect attempts, then settle into a rhythm. Related to that, one recurring gripe stands out: tray slop in the base can send a small share of buttons into the reject pile at step one.
For a small business, a school, or a serious crafter, that waste percentage is the cost of doing 200 buttons without buying four separate presses. For a one-off party favor batch, you will notice the rejects more. The kit does include a generous supply of metal blanks and mylars in both sizes, so you can absorb a few rough first presses without regret.
What the design gets right
- Detachable die system switches between 32mm and 58mm on one body
- 200 total blank sets split evenly across the two sizes
- Two circle cutters ship in the box — one per mold
- Anti-rust engineering plastic holds up in humid storage
What to practice before a big run
- Two-step press order matters — pin against plate, then through the holes
- A small share of blanks misalign at step one
- Handle must be fully bottomed out for the parts to seat perfectly
Ideal for: a crafter or small seller who needs two sizes and does not want to own two machines.
Not the pick for: someone who wants a one-lever, no-thinking press from day one.
5. We R Memory Keepers Button Press Kit

The decorated-paper and fabric specialist that cuts its own circles to fit.
Most pin presses assume you are feeding in printed paper and mylar film only. This one is built for the crafters who work in fabric, cardstock, and decorative paper — the included cutter trims your material to the exact circle the die wants, which removes the single most common source of lopsided faces. The handle is shaped so your hand sits comfortably through a long session, and the metal body with a rubbery plastic coating feels more solid than the all-plastic presses. The kit is imported and ships as a single Button Press unit.
The pet project this press open up is the one most badge machines ignore: fabric buttons and magnet conversions. Buyers report pressing 100 refill buttons in two weeks with custom art — weekend-crafter volume, not production scale. And the magnet conversion path is a bit fiddly: one owner reported the magnet not seating without additional glue and mylar, then ended up cutting the pin off and gluing a magnet in. That is the honest reality of DIY conversions, not a design flaw. For standard paper buttons, the machine is straightforward once you learn the load rhythm.
One important buying note: this press is more of a specialist than a volume machine. It is best reserved for button makers who specifically want the fabric and decorative paper capability and not just another 2.25-inch press. The included cutter means less paper waste overall, and the ergonomics really do help if you plan to make dozens of buttons in a row.
Why crafters choose it over cheaper presses: the included cutter shapes fabric and cardstock to the die size, which is the difference between clean edges and ragged buttons.
Honest limit: the magnet conversion path is finicky — expect to glue rather than rely on the pin mechanism.
Reach for this if: your material of choice is fabric, cardstock, or heavy decorative paper rather than thin printouts.
Look elsewhere if: you want the widest blank compatibility and heaviest button count for the money.
6. VEVOR Button Maker Machine 1/1.25/2.25 inch
Three molds in one body, aligned with scales so nobody has to eyeball the die.
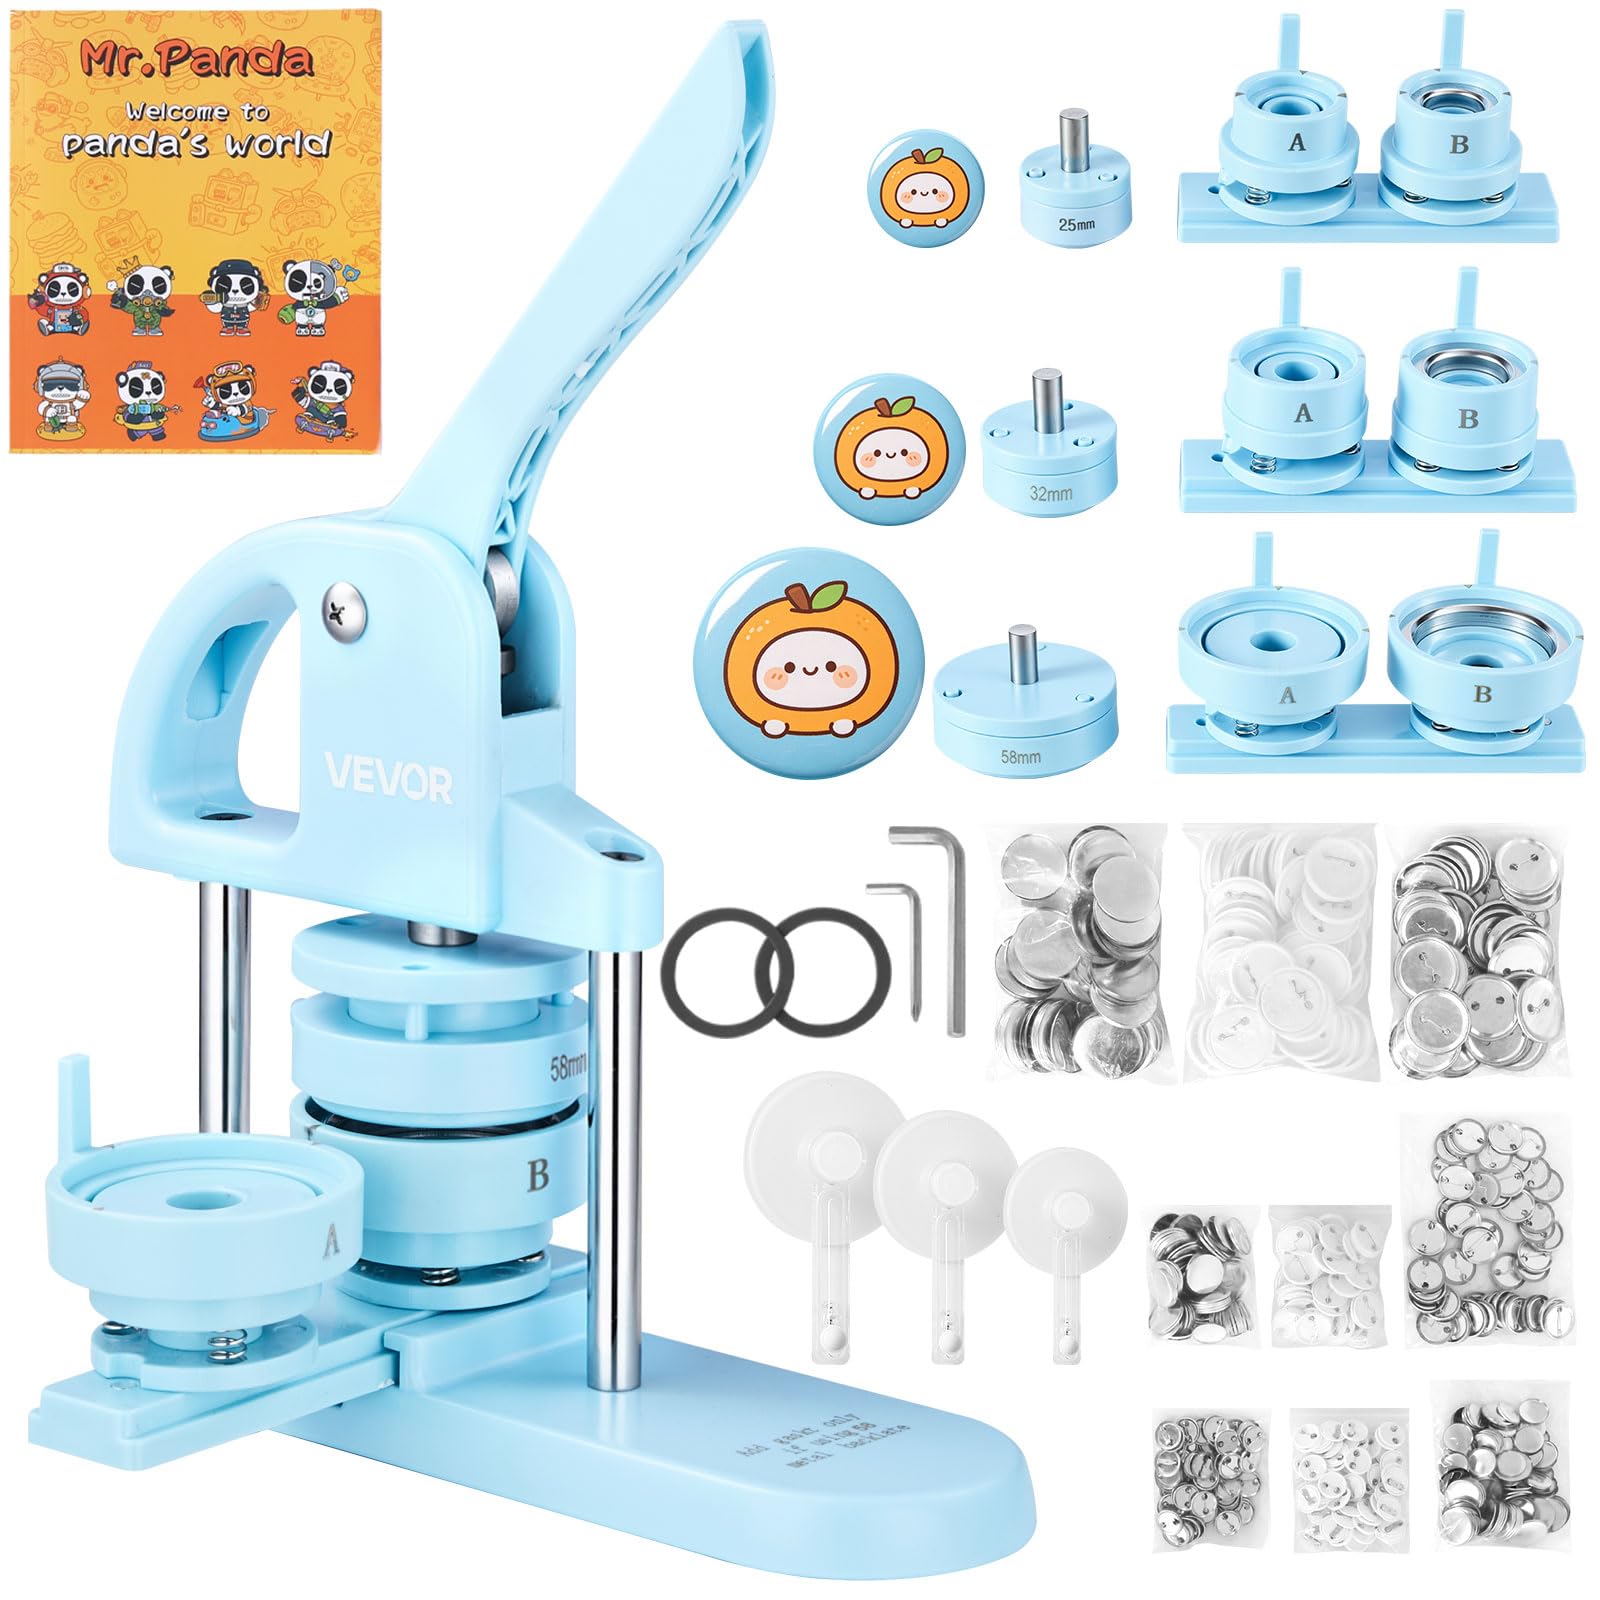
The size story here is simply bigger. This VEVOR body handles three mold diameters — 25mm, 32mm, and 58mm (1, 1.25, and 2.25 inches) — and ships with 50 of each size in both iron and plastic bottom badges, 100 tin top covers per size, 20 blank circle papers per size, 100 transparent films per size, a circle cutter, two hex wrenches, two gaskets, and a user manual. That is 300 pieces of button parts in the box before you buy a single refill. The alignment scales on the die end are the real problem-solver: they line your printed pattern up consistently, which is why owners mention that most of their failures happen before they get the feel of the two-step press, not after.
The high-strength ABS body and ergonomic arc handle are the load-bearing details for heavy users. Buyers press hundreds of buttons for daily crafting with printed images on regular paper, provided the print is sharp and the die is aligned. The place users get tripped up is the two-step sequencing — the handle needs to be pumped 3-4 times on both pieces without fully disengaging, and pressing hard to seat the layers reduces rejects dramatically. In the 58mm format, expect more rejects than in 25mm; that size is less forgiving of uneven paper.
Worth weighing: the sheet weight of your paper matters. One owner found 110 lb matte photo paper worked well in the 58mm mold, while 40 lb paper produced poor print quality. Another lesson: the black ring gasket is required when using metal bottom badges, not plastic ones — the machine does ship with those two gaskets, but you have to actually use them.
Why multi-size users favor it
- Three mold sizes in one press — 25mm, 32mm, 58mm
- 300-piece accessory kit means months of crafting before refills
- Alignment scales on the die end stop pattern drift
- Ergonomic arc handle reduces hand fatigue on long runs
Where beginners stumble
- Learning curve on the two-step press sequence
- 58mm mold is fussier about paper weight and alignment
- Gaskets must be installed for metal bottom badges — easy to forget
Best fit: a crafter running large volumes across multiple badge sizes who wants one press to cover everything.
skip it if: you only need one badge size and want the shortest possible learning curve.
7. 3 in 1 Button Maker Machine

Three molds, three cutters, 300 parts — built for making favors, not one afternoon’s batch.
If your project involves making a hundred-plus buttons for a wedding, a school event, or a small merch run, this kit is aimed at you. The F7F9 ships with three molds (1-inch, 1.25-inch, and 2.25-inch), three circle cutters, a wrench, and 300 pieces of button parts, so you can go from tiny lapel pins to large photo badges without buying a second press. Owners press a 25-button batch in one sitting after a 10-minute learning curve, and the lever is light enough that crafters with arthritis manage long sessions.
The honest trade-off is the plastic body. Build quality gets flagged as the weak point — the machine is not designed for heavy repeated use, so a commercial operation pressing 500 labels a day would wear this out quickly. Thematic and event crafters, though, get the right mix of three sizes and a serious starter supply without spending commercial-press money. The button backs in the starter supply are plastic rather than metal; some buyers prefer metal for durability, but plastic keeps the kit budget-friendly.
Roughly 10 minutes of practice gets you from unboxing to clean results, and once you learn the load sequence the 300-piece supply takes a long time to run out. For kids’ birthday parties and one-off event favors, this is a thoroughly usable package. For weekly commercial production, plan on a more metal-heavy press.
What it hits: three sizes, three cutters, 300 parts — an event-ready kit without the commercial price tag.
Where to be careful: the plastic body is not built for continuous production runs.
Good call for: event planners, wedding-favor makers, and small-business sellers doing limited drops.
Better to skip if: you plan to press buttons every single day for months on end.
Know the Specs
Mold diameter (25 / 32 / 58mm)
The number stamped on the mold is the finished button face size, not the machine. 25mm and 32mm are lapel and hat sizes; 58mm (2.25 inch) is the photo-badge size and the most widely stocked for refill blanks. A machine that offers 3-in-1 molds swaps between these sizes with the same body, while a single-mold press locks you to one diameter. When you are comparing kits, check that the mold that ships with the press matches the size you actually want to make — most frustration in this category comes from buying a 32mm press and then wanting 58mm badges two weeks later.
Button parts, mylar, and gaskets
A complete button needs three things stacked inside the die: a metal shell (the visible face), a paper or photo circle you cut yourself, and a clear mylar film that seals the paper under the metal rim. Gaskets are the small rings that seat between the metal back and the mold — some presses require them for metal-bottom buttons but not for plastic-bottom buttons, so always check the manual when you switch blank types. The accessories listed in each kit tell you how much crafting you can do before the next refill order, and 100 sets is generally one solid weekend project while 300 sets lasts far longer.
Common Questions
Can I use refill button parts from one brand in a different brand’s pin maker machine?
What paper should I print my button designs on?
Why do my finished buttons sometimes fall apart after a few days?
Do 3-in-1 button maker machines really work in all three sizes?
What does the mylar film actually do?
Can kids use these pin maker machines safely?
How do I stop buttons from coming out lopsided?
Do pin maker machines make magnets and keychains too?
What is the realistic learning curve for a first-time button maker?
Are metal bottom badges better than plastic bottom badges?
The Bottom Line
For most buyers searching for a pin maker machine, the Button Maker Machine 2.25 Inch Pin Maker Kit is the safest single-size starter on this list — a hand-powered press, 100 button sets, a cutter, and 500+ designs in one box, with a lever light enough to press comfortably for hours. If your goal is a gift for a child, the DCBADGE 3rd Gen ships fully assembled and presses buttons within a minute of unboxing. And if you need three sizes without owning three machines, the VEVOR 3-in-1 arrives with 300 pieces of button parts and alignment scales that keep your pattern centered — the best fit for anyone running volume across 25mm, 32mm, and 58mm badges.
How we choose
We do not accept paid placement. Every pick is matched to a real buyer and a real use-case; we do not hands-on test units.
Sources
Specifications: manufacturer listings and product documentation. Review insights: verified customer reviews, as of October 2026. Pricing: not shown on this page (it changes often); check the current price via the retailer link.
As an Amazon Associate, Aappliancez earns from qualifying purchases. This does not affect which products we feature.