Disclosure: Some links in this post are affiliate links. As an Amazon Associate I earn from qualifying purchases, at no extra cost to you. Learn more
Specs are compiled from manufacturer listings and verified buyer reviews and can change over time — please confirm the key details on the product page before buying.
If your headlights look like frosted glass, the fix is not just sanding — it is what you put on the lens after the sanding. A clear coat for headlights is the top layer that seals the freshly polished plastic and blocks the UV rays that turn it yellow again. Get that layer right and the lens stays clear; skip it and the haze returns within months. The picks below cover both jobs: complete restore-and-coat kits, a drill-driven system, and a spray top-up for lights you have already cleaned.
This guide is built by comparing the manufacturers’ published specifications and the patterns across verified customer reviews, so you get each pick’s real strengths and trade-offs instead of marketing spin.
Each kit below lists what is in the box, how long the job takes, and if you need a drill. Every option applies by hand or with a household drill, so you can skip the body shop. The right clear coat for headlights depends on one thing: are you restoring foggy lenses or protecting ones that are already clean?
Top Picks

How To Choose The Best Clear Coat for Headlights
Headlight lenses are plastic, and plastic does not stay clear on its own. Sun, road grit and tiny scratches break down the factory coating, and the plastic underneath starts to oxidize — that milky, yellow film you see from across the parking lot. A clear coat for headlights restores that protective skin. The trick is choosing between three types: a full restore-and-coat kit, a drill-powered sanding system, or a spray-on coating you apply to lenses that are already clear.
Do you need to sand first, or just coat?
If the lens is already clear and you simply want to keep it that way, a spray coating goes on in minutes and gives you a fresh UV layer. If the lens is yellowed or hazy, the coating will seal in the haze — you have to sand the oxidation off first. That is why the complete kits matter: they give you the oxidation remover, the sanding discs and the coating in one box.
What a clear coat actually protects against
UV light is what breaks down the plastic. A good clear coat forms a hard, transparent layer that blocks sunlight from reaching the plastic, which is what stops the yellowing from coming back. Ceramic coatings chemically bond to the lens; UV-block clear coats sit on top as a protective film. Either way, the goal is the same: block the sun so the plastic stays clear.
Hand tools or a power drill
Some kits work entirely by hand with wipes and sanding pads. Others need a household power drill to spin the sanding discs, which speeds up the work but means you need a charged drill and a steady hand. Pick by whether you own a drill and how much elbow grease you want to spend.
Work time and cure time
Budget your day honestly. Some kits finish both headlights in about half an hour of sanding; others run much longer per lens, and the final coating usually needs to sit untouched for a cure window before you drive. Read the instructions before you start and do not rush the sanding step.
Side-by-Side Comparison
| Model | Best For | Form | Tools Needed | Weight | Amazon |
|---|---|---|---|---|---|
| CERAKOTE Ceramic Headlight Restoration Kit★ Best Overall | All-in-one restore and ceramic coat | Wipe kit | No power tools | 4.8 ounces | Amazon |
| 3M Headlight Lens Restoration System 39008Drill-Powered Pick | Heaviest yellowing, drill owners | Drill sanding kit | Power drill | 4.64 ounces | Amazon |
| 3M Ultra Headlight Restoration Kit 39195 | Hands-on older lenses, tape included | Hand sanding kit | Household drill optional | 3.68 ounces | Amazon |
| SYLVANIA Headlight Restoration Kit | UV clear coat finish, no tools | Full kit with UV block coat | No tools needed | 4.8 ounces | Amazon |
| Meguiar’s Keep Clear Headlight Coating (2 Pack) | Top-up coating on clear lenses | Aerosol spray | None | 12.42 ounces | Amazon |
Detailed Reviews
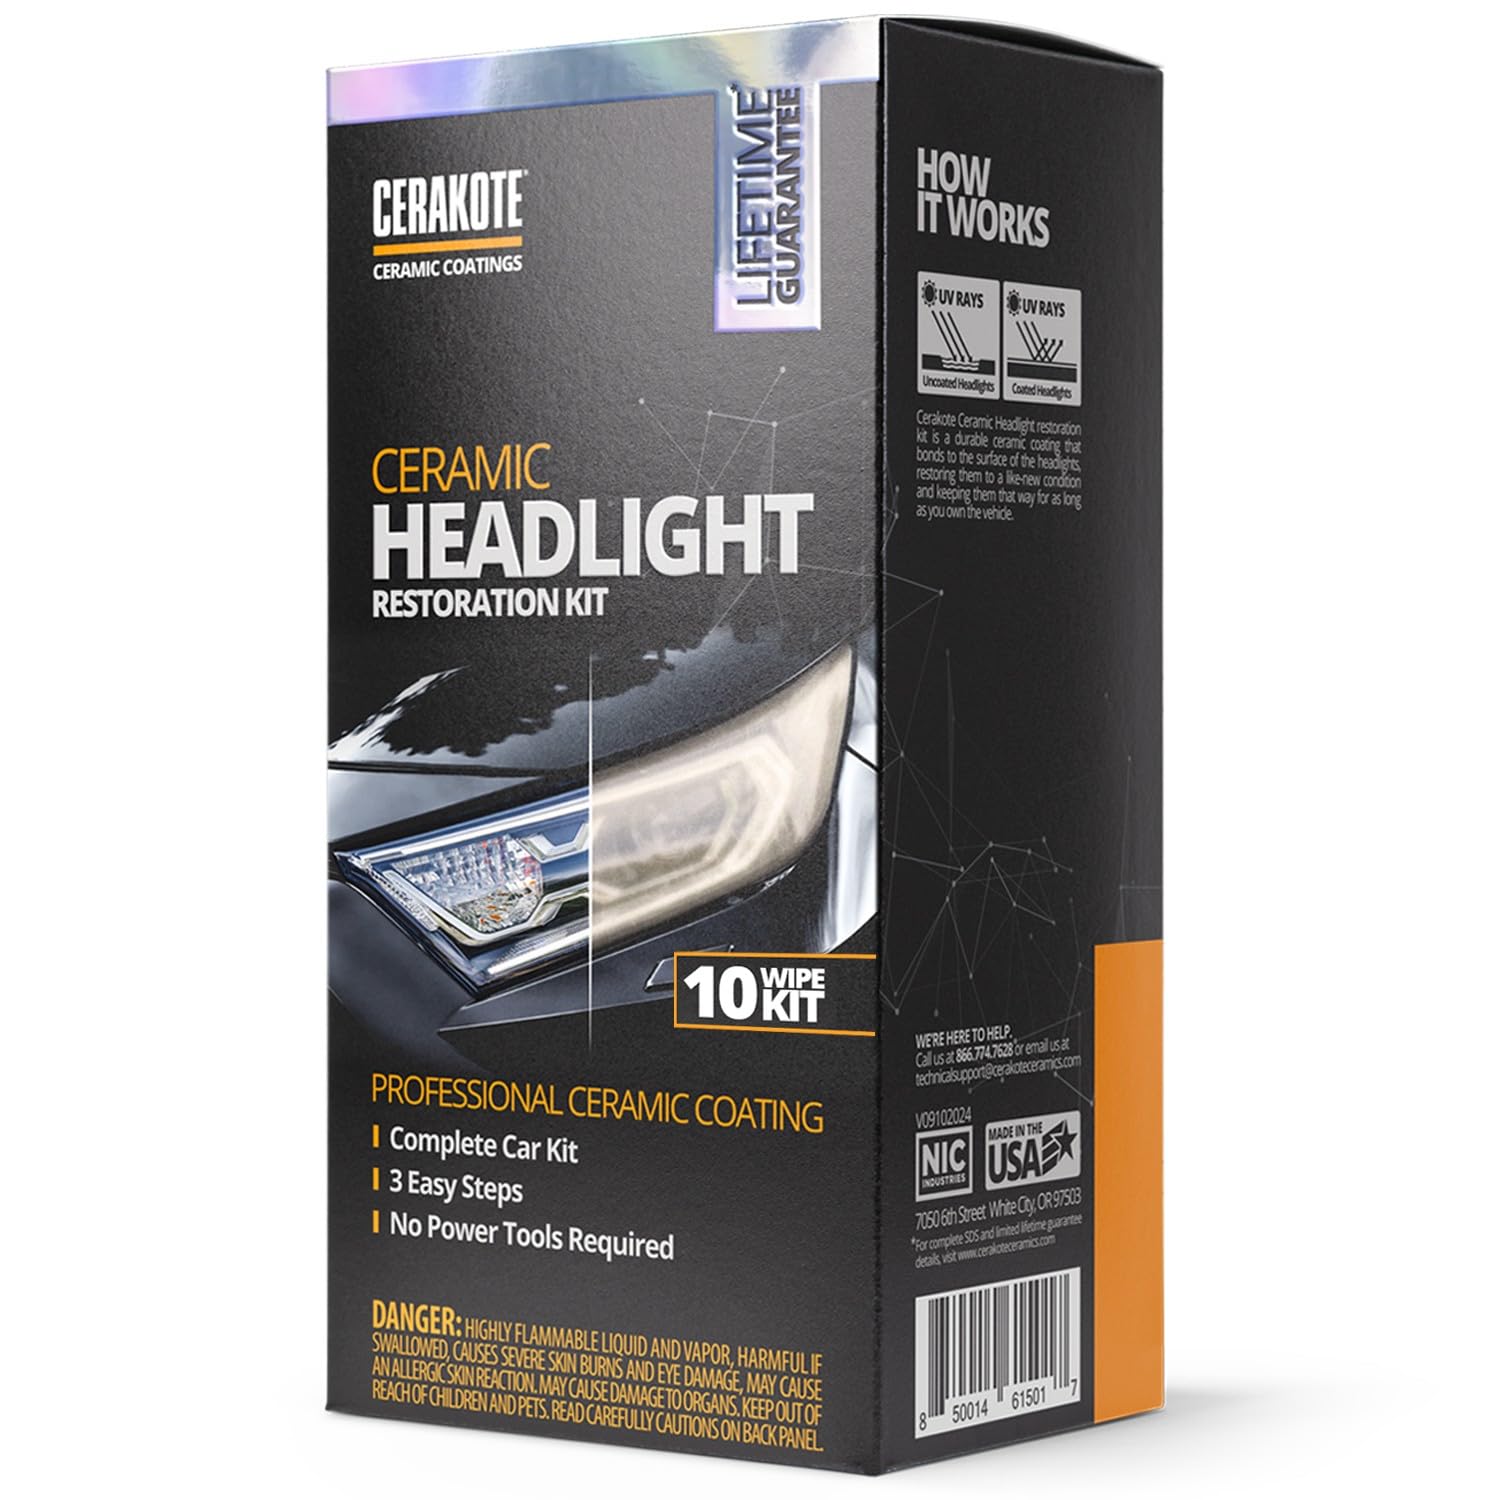
1. CERAKOTE® Ceramic Headlight Restoration Kit, 10 Wipe Kit
Our pick — 4.5+★ from 75,500+ verified ratings; the strongest balance of quality and price.
Ten wipes, three steps, no drill — and a ceramic layer that bonds instead of just sitting there.
The whole kit is laid out as three jobs: eight Step 1 oxidation-removing wipes, one Step 2 sanding kit, and two Step 3 ceramic coating wipes. That is the entire process in one box, and it runs about 30 minutes according to Cerakote. The payoff is the Step 3 ceramic coat, which Cerakote says bonds to the lens and holds UV protection for as long as you own the vehicle. The thing that wins people over is simply whether it works, and it does — a 2011 Tundra owner reports it worked great, and the results beat a rival kit the same buyer had tried.
What makes it easier than a drill kit is the wipe format. You are not spinning sanding discs and fighting a battery; you are wiping on oxidation remover, hand-sanding the stubborn spots, then laying down the ceramic coat. Two people-side notes worth stealing from the instructions: keep the lens wet with a nearby hose through the sanding phase, and tape off the paint first. One owner also cautions to remove the tape and dry the lens thoroughly before the final wipe, then leave it untouched for an hour to cure.
The honest limit is deep oxidation. One owner’s extremely cloudy light came back significantly clearer but kept a faint yellow undertone compared against a brand-new replacement. The other thing to plan for is the cure window — no touching or driving into rain for that hour, so pick a shaded, dry afternoon.
What earns its place on the shelf
- Ceramic coating that bonds to the lens for UV protection rather than a film that washes off.
- No power tools — nothing that can gouge the plastic or scuff paint if your hand slips.
- About a 30-minute process end to end, with all three steps included.
- Works on headlights, fog lights, brake lights and third brake lights.
Where it asks for patience
- Heavily oxidized lenses may keep a slight yellow undertone even after treatment.
- The final coat needs a full cure hour undisturbed, so weather and shade matter.
Reach for this if: you want a complete restore-and-seal job with no drill, no power, and a ceramic layer doing the UV work.
Look elsewhere if: your lenses are so far gone you expect a brand-new mirror finish — a deep tint can still linger.
2. 3M Headlight Lens Restoration System, 39008, 1 Kit
For yellowing so bad the plastic looks baked — this one spins the grit at drill speed.
Where the Cerakote kit asks your elbow, the 3M 39008 asks your drill. It drives sanding discs at 3 inches in diameter through a medium 500-grit aluminum oxide, then polishing pads and a finishing compound, all attached to a household drill. The point of power here is speed on harsh yellowing — 3M built it specifically to cut through the worst oxidation. It weighs 4.64 ounces, so it is not a heavy box to hold, and it plays on plastic lenses.
The real-world results are strong when the drill is charged. Owners describe foggy, yellowed lenses coming out nearly new, with one stating it took an 18-year-old car’s headlights and made them look brand new — a verdict echoed across long-time repeat users. The critical catch is the drill itself: one owner had their drill battery drain mid-job, and flat discs can struggle on bulbous or irregularly shaped lenses. Expect somewhere in the neighborhood of 30 to 40 minutes per headlight for a careful job.
Heavy oxidation is where results split. A badly hazed 2010 lens can resist even after repeated attempts, and a couple of purchases note the medium grit pad falling apart late in the job. Treat it as the pick for moderately-to-heavily yellowed lenses on a car you can hold a drill steady against — not a miracle for plastic that has gone opaque.
Where the value lands: the sanding discs and compound go far enough that you can typically do multiple restorations from one kit, and there is enough left over that saving it for the next car makes sense. The finish holds when sealed; one owner sprayed a separate clear protectant afterward to keep it that way.
The trade you make: it is a power-tool job. Make sure you have a good drill and a charged battery, tape off the surrounding paint, and keep the lens wet through sanding so the plastic does not scorch.
Pick this when: you own a decent drill, the yellowing is stubborn, and you want the job done at speed.
Think twice when: your lenses are curved or bulbous, where flat spinning discs can leave uneven spots.
3. 3M Ultra Headlight Restoration Kit, 39195

The kit that hands you the tape, the discs and the wax so you are not hunting the garage mid-job.
Unlike the drill-driven 39008 above, the 3M Ultra 39195 is a hands-and-optional-drill job, and it is the one 3M kit that throws in masking tape and wax protectant. It runs 500, 800 and 3000 grit discs, then a protectant step, and it weighs 3.68 ounces — the lightest of the restore kits here compared to the 4.8-ounce Cerakote and Sylvania boxes.
Owners who take their time get near-new lenses. The wax protectant is what holds the clarity afterward, and the tape lets you work with confidence. The main honesty point is time: some report 15 to 20 minutes, others say many hours, and the gap is almost entirely how methodical the sanding is. A 45-minutes-per-headlight pace comes up repeatedly for people doing it properly. Don’t rush the grits or leave the drill lingering on one spot.
Where it earns trust is repeatability. One owner had lights still looking good two years after a job, and another says they have used this kit for years and it works each time when the instructions are followed. The trade-off is effort — sanding plastic by hand across three grits will tire your arm, and the taping and polymer application need to be even.
Small extras that pay off
- Masking tape and wax protectant included, so you are not buying them separately.
- Three grits — 500, 800 and 3000 — for a graded sanding sequence.
- Lightest restore kit on this list at 3.68 ounces.
- Holds clarity over the long haul, with a two-year result on record.
What buyers flag
- Time is variable — quick for some, a multi-hour project for others.
- Hand sanding gets tiring; keeping an even hand across the lens takes care.
Yes, if: you want the tape and protectant included and you are willing to spend a careful afternoon sanding.
No, if: you want a quick 10-minute touch-up — this one rewards slow, even passes.
4. SYLVANIA Headlight Restoration Kit

A five-step kit built around an actual UV-block clear coat, not just a final wipe.
The SYLVANIA system is the most complete coating setup here: surface activator, sandpaper, a clarifying compound, and an exclusive UV-block clear coat — enough to do two lenses with no tools. Weight is 4.8 ounces, same as the Cerakote box, and the two are close matches on rating. The difference is the finishing sequence. Sylvania runs the sealant as its magic step, and getting an even coat of the UV block is what keeps the lens clear long term.
Buyers report a genuine mirror finish when the prep is right. The kit takes time, though — a full sand-and-seal runs about two hours of hands-on work, and one owner tracked 12 hours total including lens removal and cure. Tape off the paint, re-tape once wet sanding loosens it, and split the compound and applicator across both lights before the final step. The one thing not in the box: paper towels and a spray bottle.
The sealant is where mistakes show. Overlapping strokes with the UV coat can leave a haze that will not polish out, so the advice is one even pass and no touching up. For badly clouded lenses — a C6 Corvette comes up — the result is a big improvement with a like-new look from a few inches back, though fine checking can still show up close. Treat the two-stage activator and sealant as a job that rewards patience.
Why people pick it: the UV block clear coat is a real, dedicated layer in the box, not an afterthought, and a two-coat sealant pass is the trick that makes it stick. It includes everything to do both lenses with no tools.
Known rough edges: the multiple rinse cycles stretch the job, and the one-pack applicator means you must plan the two lights before starting the final coat.
Best fit: the buyer who wants a true UV clear coat as the last step and has half a day to do it carefully.
Pick another if: you want a quick result — the multi-stage sand, polish and seal is a longer sit.
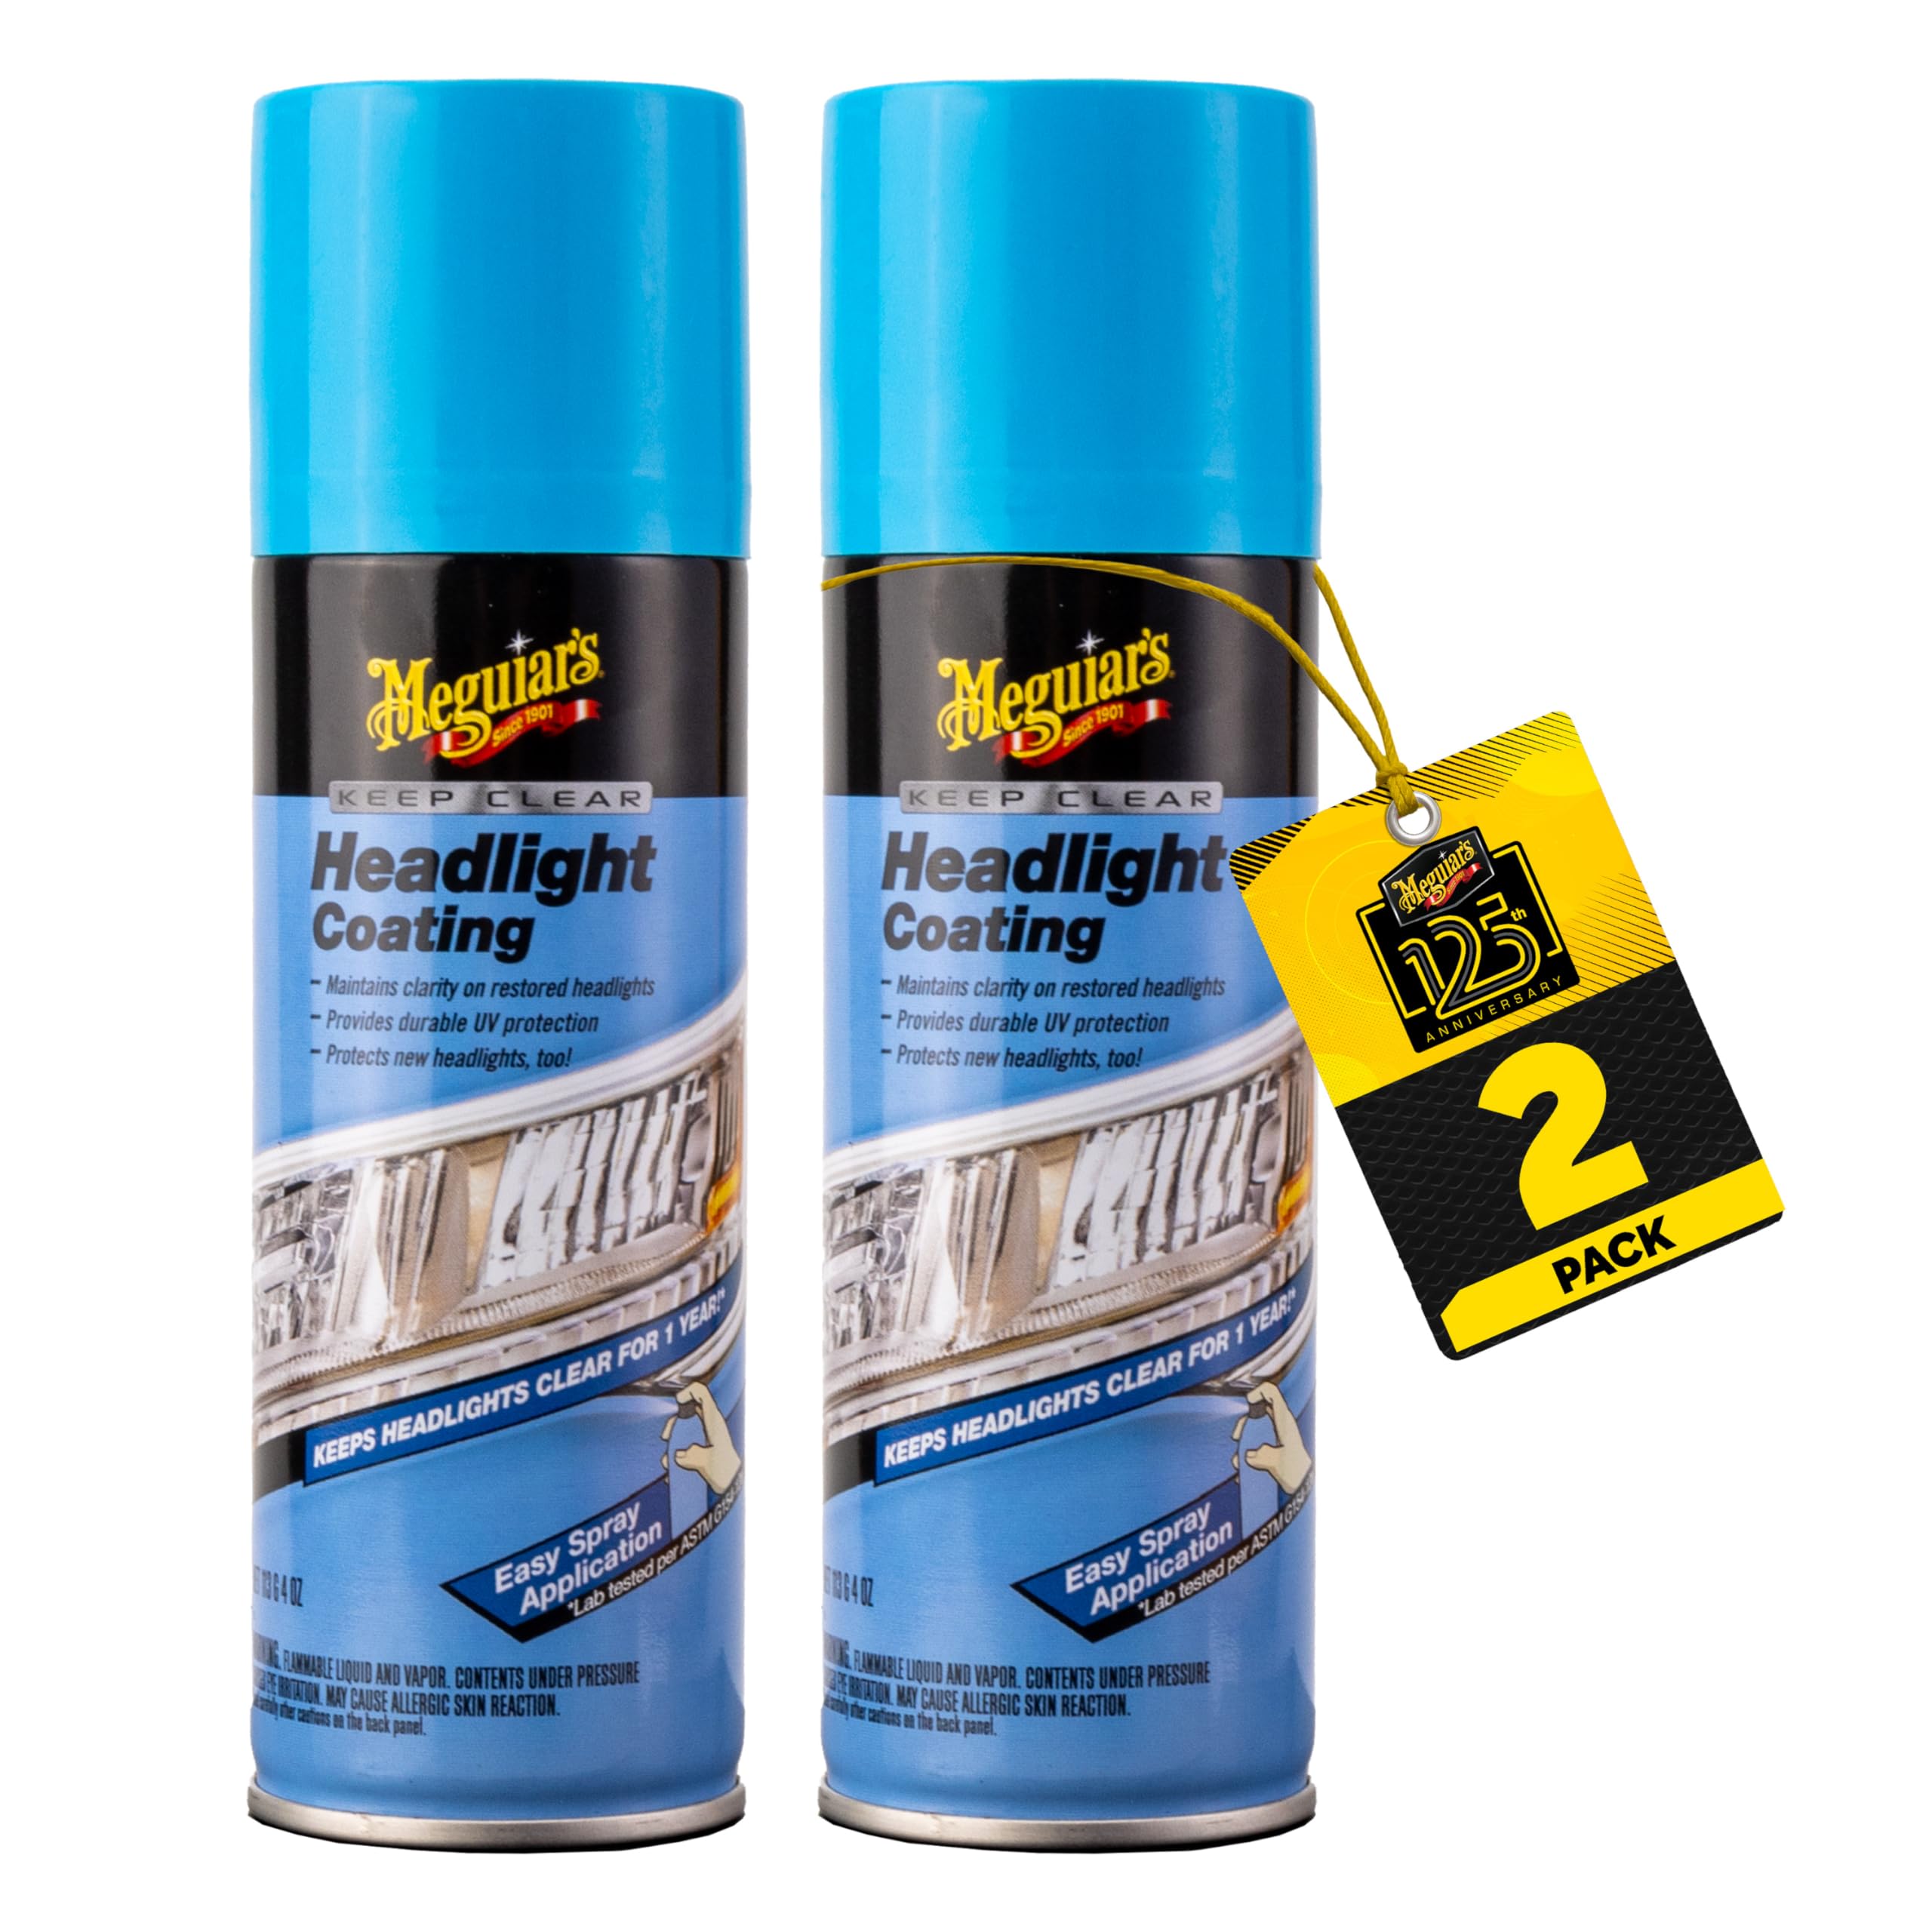
5. Meguiar’s Keep Clear Headlight Coating, 2 Pack
A spray can, not a sanding job — this is the layer you add after you have already polished.
Meguiar’s Keep Clear is a different animal from the sanding kits. It is a two-pack of 4 oz aerosol cans of clear coating you spray on after polishing, and Meguiar’s states it holds clarity for up to a year. It is the only spray-format pick here, and the only one meant to protect new or restored lenses rather than remove oxidation. If your lights are already clear and you want to keep them that way, this is the simplest path.
Application is genuinely quick: spray, let it dry, done. Owners who use it after wet-sanding describe a fine, even mist with no streaks or drips, drying fast to a clear film without yellowing. They also note it resists rain, grime and temperature swings. The strong smell is real, so plan to do it outside with the paint masked. The spray will not fix deep scratches — it is a top layer, not a repair.
Expect to re-apply. Some owners see the shine dull after a few weeks and respray periodically to keep it crisp. Clarity gains are honest but modest on older lenses — a cleaner look and slightly sharper beams rather than a like-new makeover. It is a maintainer, not a restorer.
The simple play: for anyone with clear lenses that are starting to dull, this is the lowest-effort way to add UV protection and keep the plastic from hazing again.
The honest caveat: protection is annual at best by the maker’s own wording, and the finish can fade, so treat it as a seasonal top-up rather than a one-and-done seal.
Note that unlike the restore kits above, this is a perimeter coating only — pair it with one of the sanding kits when you actually need to strip oxidation off the plastic first.
Snag it for: keeping already-clear headlights clear with a quick annual spray.
Step up instead if: your lenses are foggy or yellowed — you need sanding before a coating like this can help.
Know the Specs
Coating type: ceramic vs UV clear coat vs aerosol
A ceramic coating chemically bonds to the plastic and holds UV protection long term; a UV-block clear coat is a dedicated protective film applied after polishing; an aerosol spray is a light top-up you re-apply over time. Match the type to your lens: if it is foggy, get a restore kit with a coating included; if it is clear, a spray keeps it that way.
Sanding grits
Grits are numbered by how coarse the abrasive is — a lower number removes more plastic, a higher number polishes. A typical sequence steps from coarse to fine, so a kit listing 500, 800 and 3000 grit spans both ends. Skipping straight to a fine grit leaves the oxidation intact; skipping the fine grit leaves scratches.
Hand tools vs power drill
A hand-sanding kit needs no power and gives you full control on curved lenses. A drill-driven kit spins the discs faster to cut heavy yellowing but demands a charged drill and a steady hand. Neither is universally better — the drill wins on tough oxidation, the hand kit wins on odd-shaped lenses.
Work time and cure time
Work time is the active sanding and coating; cure time is the resting period during which the coating hardens and should not be touched or rained on. Kits that claim 15-20 minutes are usually just the sanding; real results tend to run 30-45 minutes per light and a further cure hour.
Common Questions
Do I have to sand my headlights before applying a clear coat?
How long does a ceramic headlight coating actually last?
Will a clear coat fix deep scratches or heavy yellowing on its own?
Is a drill-powered kit better than a hand sanding kit?
Can I use a spray clear coat on headlights that are already restored?
How do I stop the clear coat from leaving streaks or haze?
Do I need to tape off the paint around the headlights?
How long does the whole restoration take, start to finish?
What temperature should I work in?
The Bottom Line
For most buyers, the cleanest path to clear lenses is the CERAKOTE Ceramic Headlight Restoration Kit, because the ceramic coating bonds to the lens and holds UV protection with no tools required. The 3M 39008 drill kit is the pick if your yellowing is heavy and you have a steady drill hand. If time and an even coat matter most, the SYLVANIA kit brings a true UV-block clear coat as the finishing step. And for already-clear lenses that just need a yearly UV top-up, the Meguiar’s spray is the low-effort add-on. Whichever you choose, sand first, coat last, and let the coating cure undisturbed — that sequence is what keeps the plastic from going yellow again.
How we choose
We do not accept paid placement. Every pick is matched to a real buyer and a real use-case; we do not hands-on test units.
Sources
Specifications: manufacturer listings and product documentation. Review insights: verified customer reviews, as of October 2026. Pricing: not shown on this page (it changes often); check the current price via the retailer link.
As an Amazon Associate, Aappliancez earns from qualifying purchases. This does not affect which products we feature.